How to claim your business in ChatGPT Business Hub and link your feed
November 18, 2026 · 7 min read
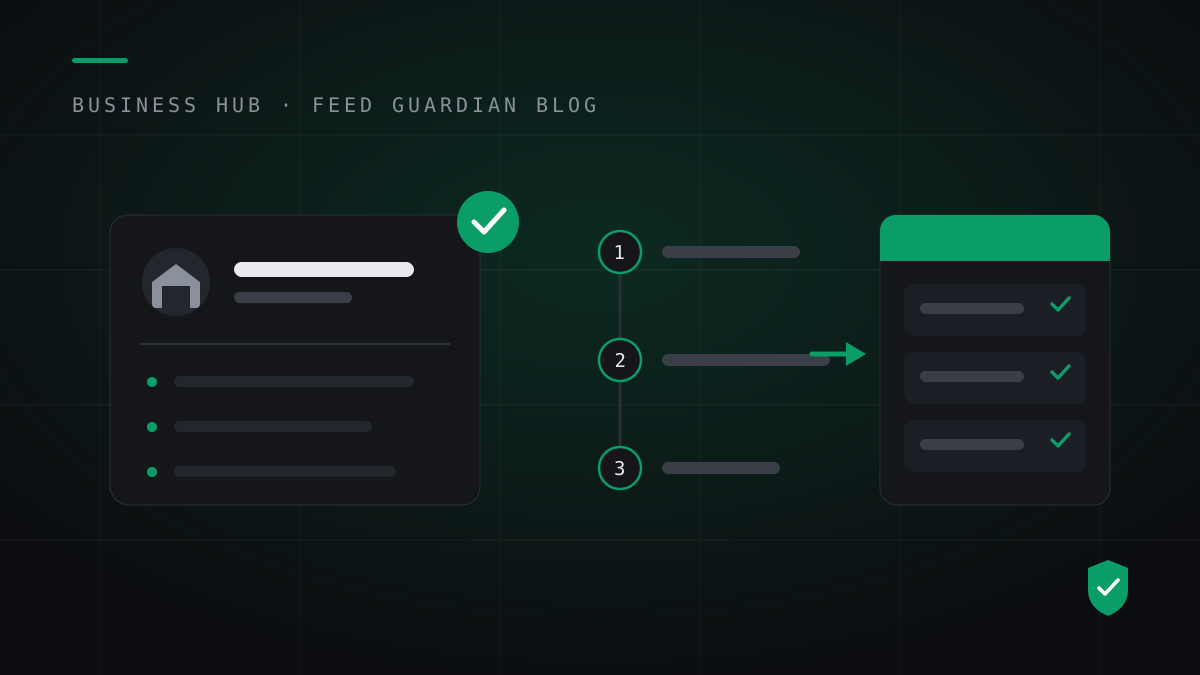
Short answer first. Claiming your business in ChatGPT Business Hub is free, self-serve, and takes under an hour when your details are ready. You sign in, claim the business, finish verification, complete the profile, and link a product feed. The claim is the easy half. The feed link is where WooCommerce stores win or lose, because OpenAI validates every row and drops the ones that break its rules, with no warning to you. This guide walks the whole flow in order, with the checks to run before you paste your feed link.
Who this guide is for
This guide is for WooCommerce store owners who sell physical products and want those products eligible to appear when shoppers research inside ChatGPT. It assumes you run your own store and can sign in to its WordPress admin. It is not for Shopify stores, which connect through a native pipeline in the Shopify admin, and it is not for advertisers. The Ads Manager feed is a separate system with a separate job, covered in our comparison of the three ChatGPT feed routes.
Before you start: have these ready
Your business name, written exactly as you want it shown. The seller_name in your feed must match it on every row.
Access to your website and its WordPress admin. Verification ties the claim to the business and its site.
Your product feed, or a plan for one. You link it in the last step, and rows that break the rules get dropped.
Thirty to sixty quiet minutes. Verification steps that stall usually stall on a detail hunt, not on the screens.
Step 1: Sign in and claim the business
Open Business Hub and sign in with the account that should own the claim. Search for your business. If it appears, claim it. If it does not, add it with the name and website you prepared. Pick the account owner with care: the feed, the profile and any future changes all hang off this claim, so use an account your business controls long term, not a contractor's login.
Step 2: Finish verification
Business Hub verifies that you are the business you claim. Work through the verification steps it presents and answer with the details you prepared. Do not rush this step or approximate a name. The name on the verified profile and the seller_name on every feed row should be the same name, because shoppers see both, and a mismatch reads as two different sellers.
Step 3: Complete the business profile
Fill the profile fields Business Hub offers: name, website, and the business details a shopper needs to trust a result. A claimed profile with a complete profile is the surface your products attach to. An empty profile with a perfect feed still leaves ChatGPT holding products from a business it cannot describe.
Step 4: Get the feed right before you link it
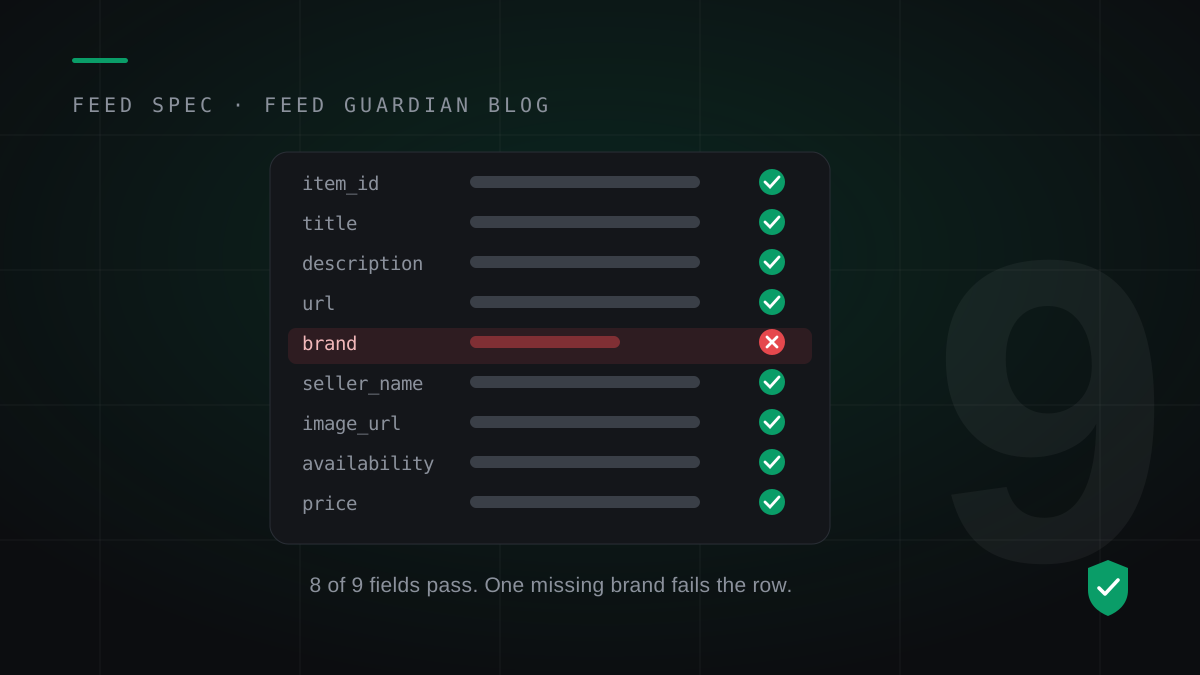
Every product row needs the nine required fields: item_id, title, description, url, brand, seller_name, image_url, availability and price. The formats are strict. Price reads like 79.99 USD, with no symbol and no commas. Availability is one of five exact values: in_stock, out_of_stock, pre_order, backorder or unknown. Our field-by-field breakdown of the spec covers each rule.
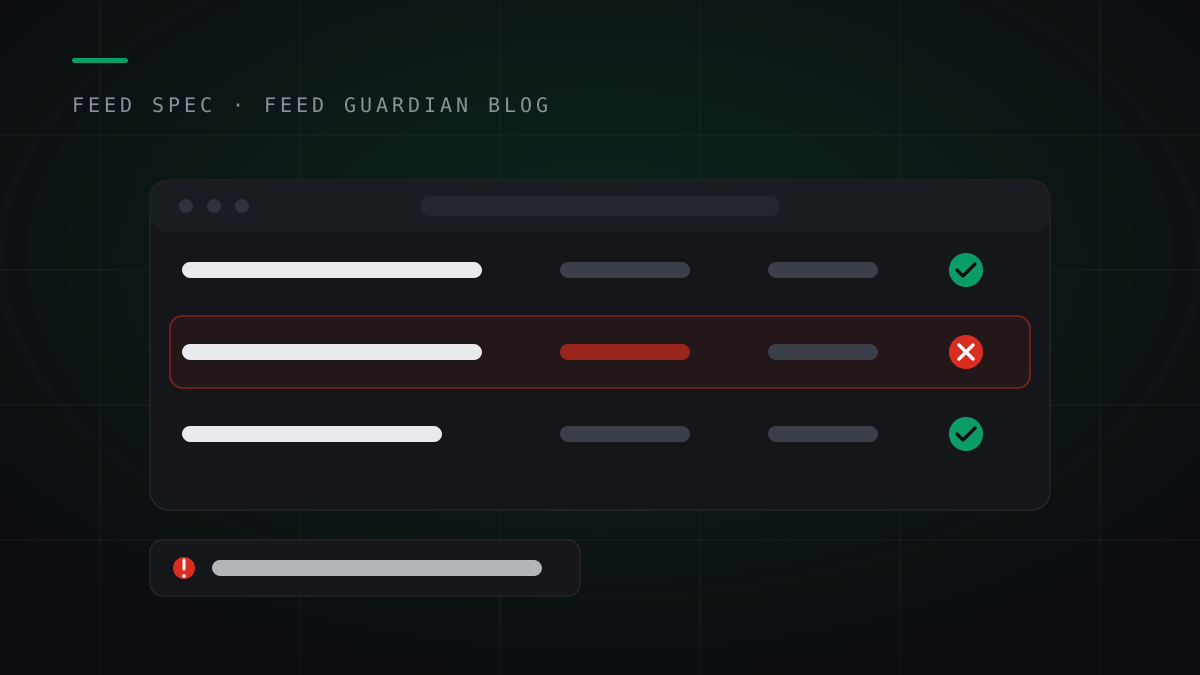
Check your real catalog before you link anything. Our free checker has scanned 1,541 products across public WooCommerce stores, and only 32 passed every rule. The failures cluster in two places: brand, which WooCommerce does not store as a standard field, and price format, which exports in shopper format instead of spec format. Run the free feed check on your store and fix the pattern it shows before Business Hub ever sees your rows.
Step 5: Link the hosted feed URL
In Business Hub, open the product feed section on your claimed profile and choose how the feed arrives. You can upload a CSV, link a hosted feed URL, or connect a Shopify store. Pick the hosted URL. Paste the stable link to your feed file and save. One feed source feeds this slot. If a plugin already uploads a file here, replace it rather than adding a second source, because OpenAI keeps the last snapshot it processed and two sources create conflicting ones.
A note on what linking is not: no tool pushes a feed into Business Hub from outside. Direct feed submission belongs to OpenAI's approved partners. Everyone else, including Feed Guardian, hands you a hosted link and you paste it here yourself, once. Any tool that promises to push products into ChatGPT for you is describing a program it is not in.
Step 6: Confirm the link took, then protect it
Save, then check the feed status on the profile. A linked feed with dropped rows is the normal failure, so treat the first check as a review of your rows, not a celebration of the link. Then protect the claim with the daily habit the spec demands: a fresh full-catalog snapshot at least once a day. OpenAI retains the last processed record for up to 14 days. Miss the daily rhythm and the record ages out on schedule, taking your products with it. Our guide to why products disappear from ChatGPT walks that clock in detail.
Where claims and feeds stall
The profile name and the feed seller_name differ, so the business and its products read as two sellers.
The feed links before anyone checks the rows, and OpenAI drops the failures in silence.
A one-time CSV upload feels finished, then the 14-day retention window closes and the products age out.
A generator plugin and a hosted feed both feed the same slot, and the snapshots fight.
The claim sits in an ex-employee's or an agency's account, and the business cannot manage its own profile.
Questions store owners ask
Does claiming a business in Business Hub cost anything? No. The claim, the verification and the feed link are free. Tools that build and guard the feed charge for their work; OpenAI does not charge for the slot.
Can I link a feed before verification finishes? The feed attaches to the claimed, verified profile. Finish the claim first, then link. The order in this guide is the order that works.
My store is on WooCommerce. Which feed option do I pick? The hosted feed URL. A CSV upload works for a first test, and the Shopify connection does not apply to you. A hosted URL is the option that can refresh daily without you touching it.
Who can push a feed into ChatGPT directly? Only OpenAI's approved partners, through the partner commerce program. Self-serve stores claim in Business Hub and link a feed. That is the route this guide covers.
What happens after I link the feed? OpenAI processes the snapshot, and eligible products can appear in ChatGPT discovery under your business profile. The listing stays alive only while fresh snapshots keep arriving, at least one full snapshot a day.
Final word
Claim the business yourself, in an account your business owns, with the name your feed will carry. Check your rows before you link them. Then treat the daily snapshot as the real product, because it is. The claim takes an hour. Staying listed is the ongoing job.
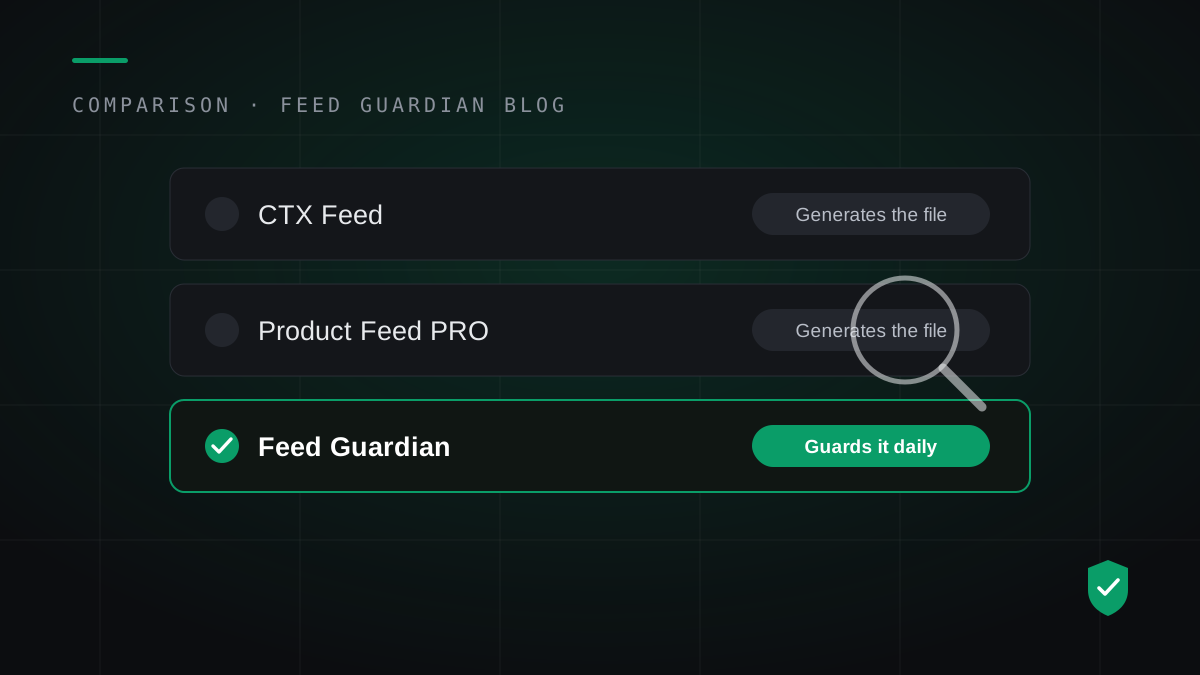
Feed Guardian does the daily half of this guide: it validates every product against the spec, hosts your feed at one stable link, rebuilds it daily, and emails you when a row breaks. Paste the link once in Business Hub and the claim stays fed.